Design and print
Content
Elements are placed one after another along the tape. Order them with Move up and Move down.
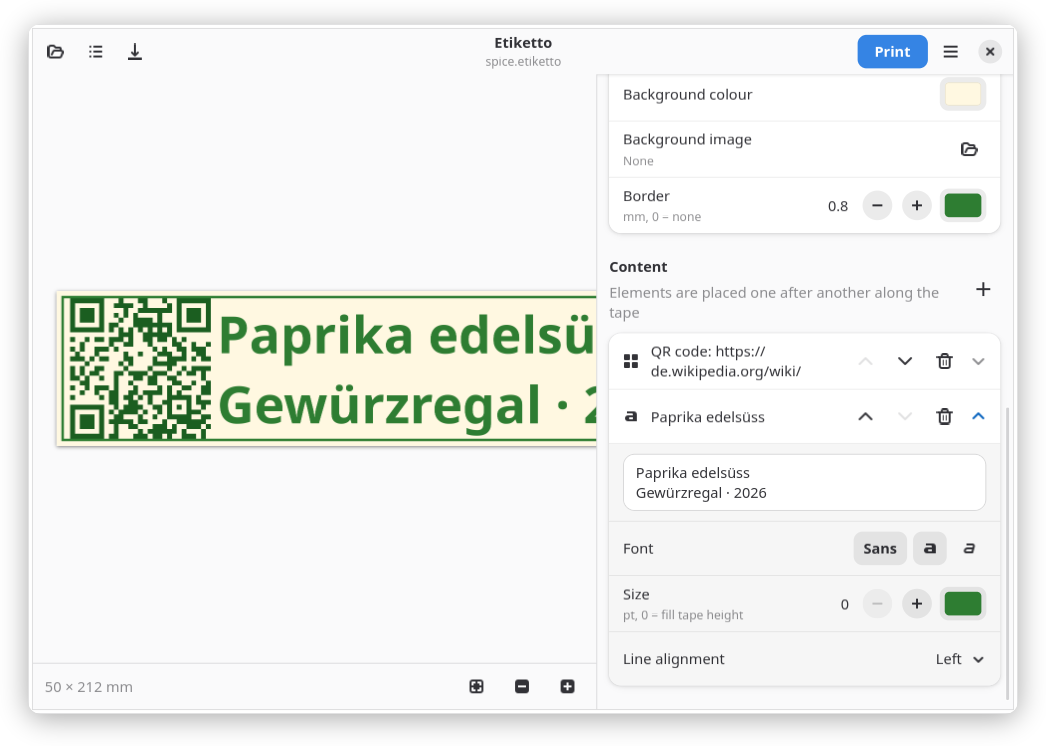
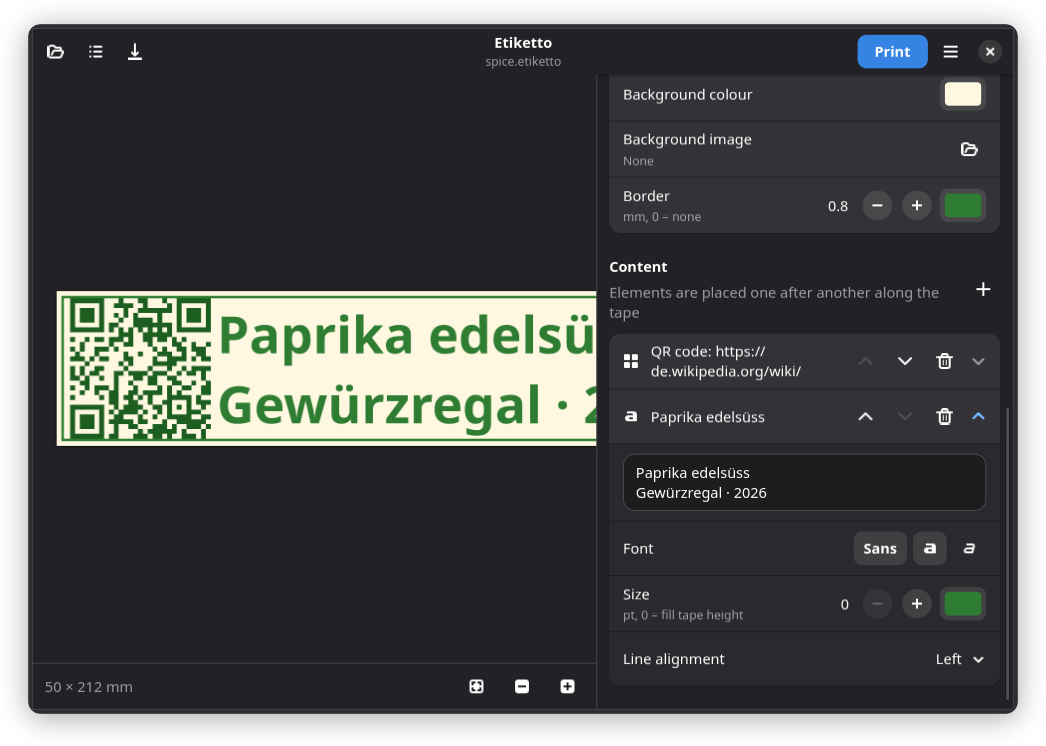
- Text: any installed font, colour, several lines. Size 0 fills the tape height, otherwise fixed in pt.
- Image: photos and graphics; drag and drop works too.
- Code: QR code, Code 128 or EAN-13.
Label
- Automatic length: the label is as long as its content. Off: fixed Length, content aligned and scaled down if needed.
- Spacing: space at the ends and between elements.
- Edge spacing: extra space along the tape edges.
- Background colour, Background image: printed edge to edge.
- Border: width, 0 = none; always inside the safety margin.
- Units: millimetres or inches, by default from the system language.
Safety margin (printer setting, default 1.5 mm): content and border keep this distance from the tape edges. The printer loses about 0.5 mm per side, and long labels can run up to 1 mm askew. If text is cut off at the edge, increase it.
Print
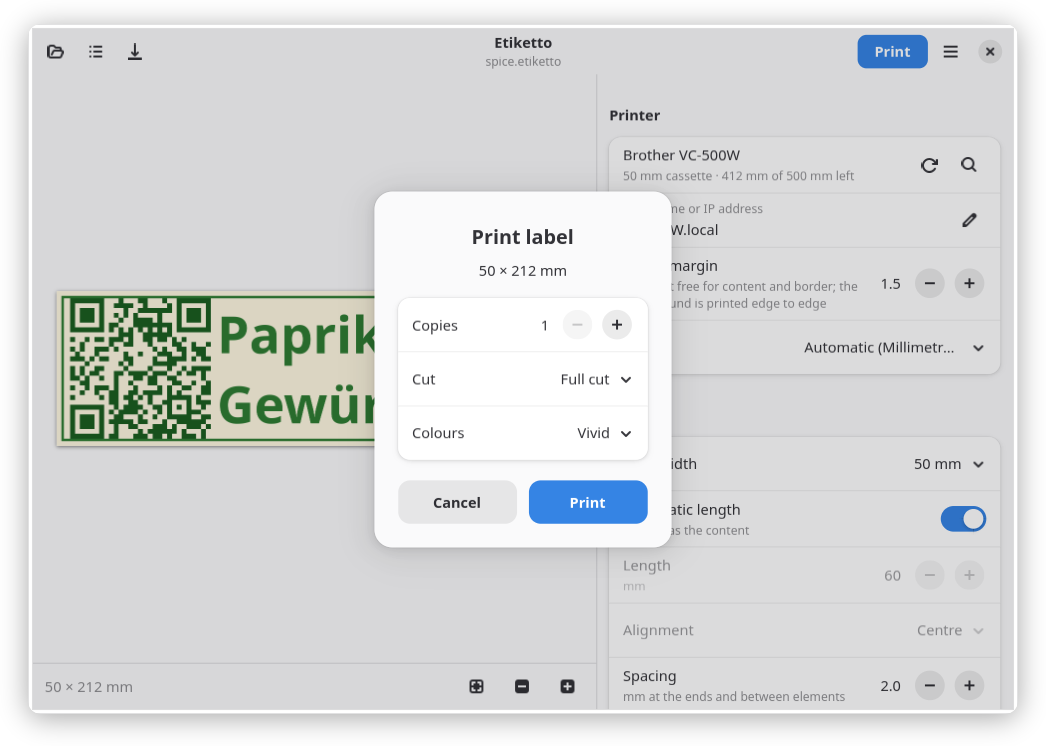
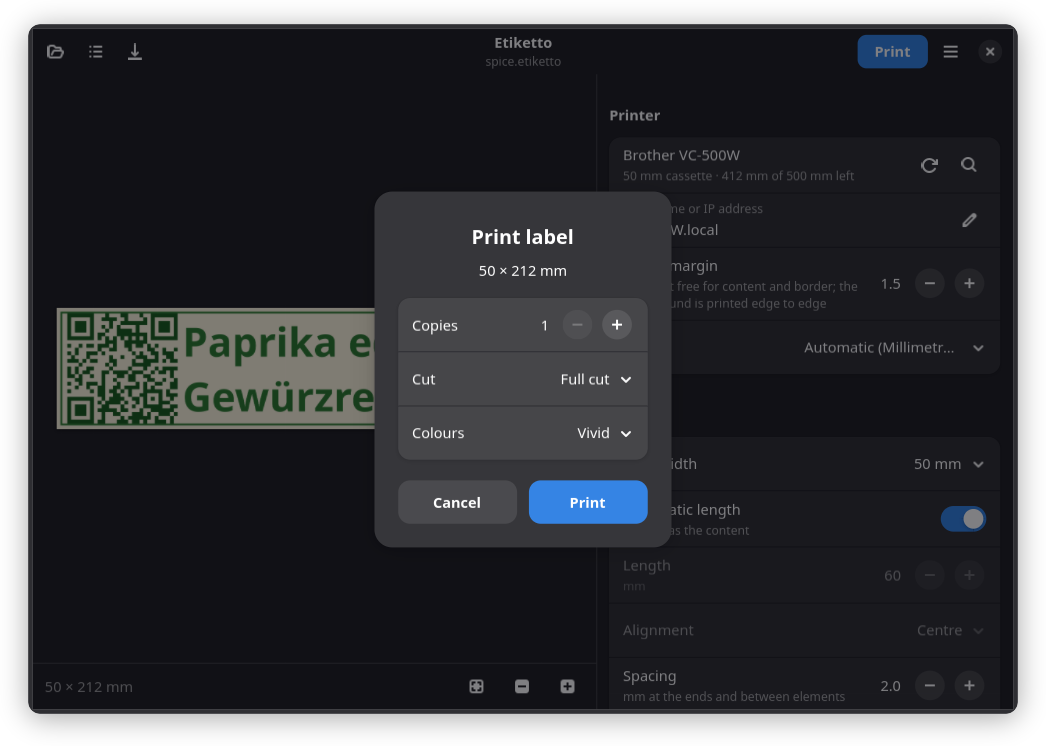
- Copies: number of labels.
- Cut: Full cut separates the labels. Half cut cuts through the label, the backing holds them together. No cut: the printer waits, swipe its panel to cut.
- Colours: Vivid for the strongest colours, Normal (Brother: Standard) for softer ones, black and white (400 lpi) for text and codes.
- Colour correction: brightness and colour balance (red, green, blue), for this print only, not stored in the printer.
Export PNG… saves the label as image.